working with graphics in Processing Processing itself is a good tool for smaller, prototypish projects. It can become handy when …
working with graphics in Processing
Processing itself is a good tool for smaller, prototypish projects. It can become handy when working with lower resolutions and 2D. Therefore, a simple parallax scene is a quick and performant way to use this engine for storytelling.
This scene is created with three layers of graphics, that are displaced by the users mouse movement.
creating the graphics with Stable Diffusion
To better get in touch with this kindly new technology, we use a pretrained Ghibli style model and a local Stable Diffusion/Automatic1111 solution to create out images.
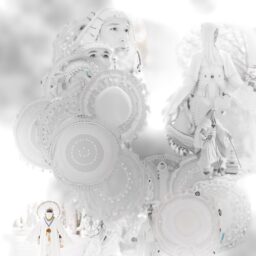
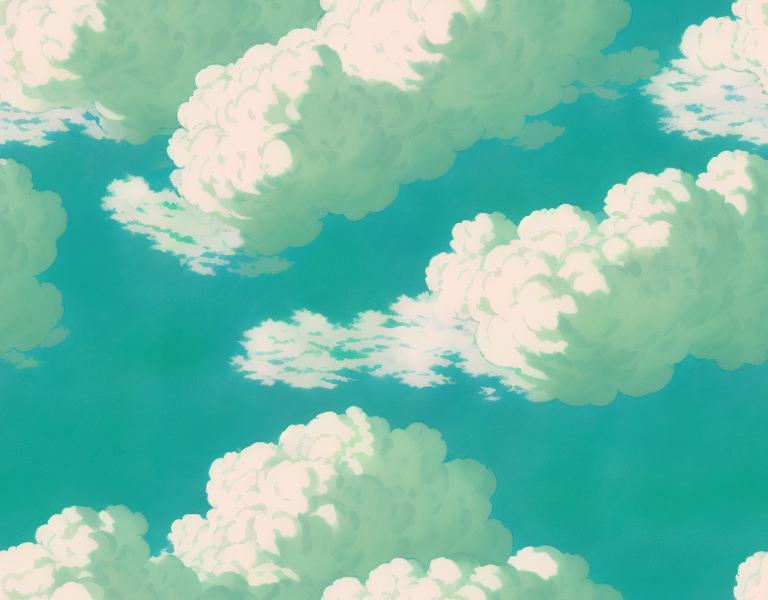
First, we create a tileable background. The texture should not be to repetitive nor too sharp edged. This prompt pulled out pretty suitable results in SD/A1111:
ghibli style fantastic magical clouds,blurred, out of focus, comic outlined, green background , comic illustration detailed realistic

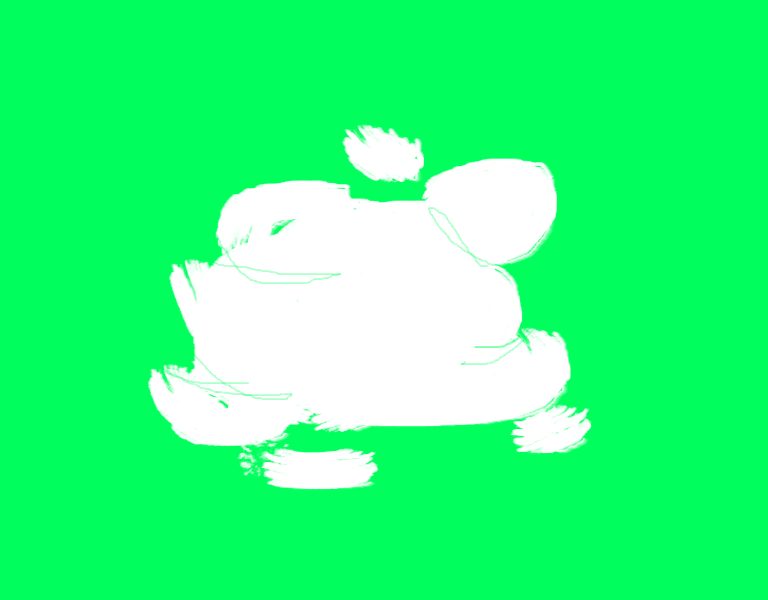
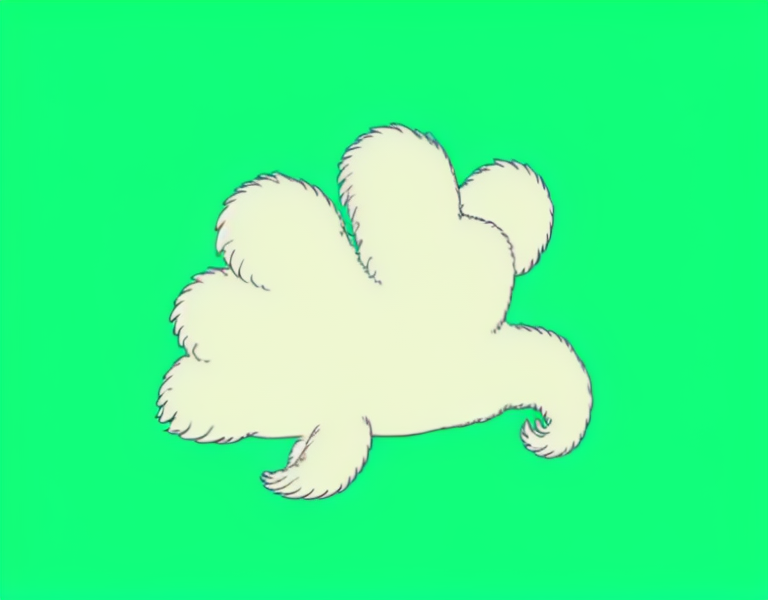
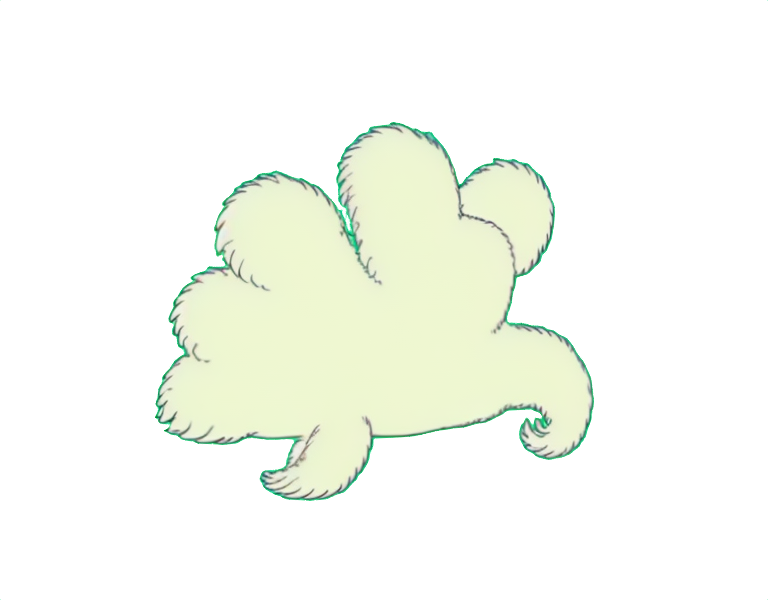
For the creation of some kind of creature, we use a simple img2img pipeline with a pre drawn guildline drawing.
((ghibli style single small magical cloud in form of a white fluffy creature in center )) fantastic , sharp and focussed , comic illustration detailed realistic
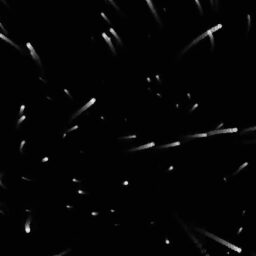
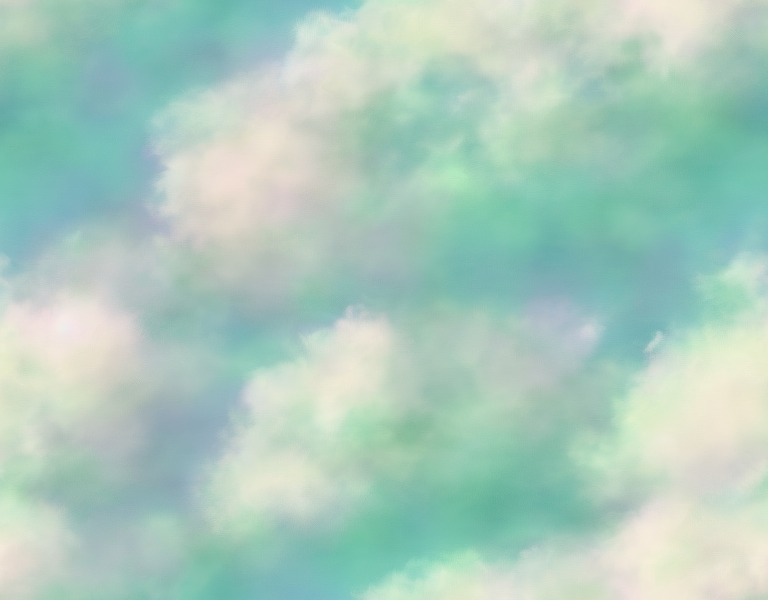
For the foreground, we need something translucent that won’t distract the scene too much. Here we come with a smoothed out cloud texture. titleable.
((ghibli style cute dust and fog curly sky fluffy light)) comic illustration detailed, very blurry out of focus, ((plain black background, sky)), monchrome


Processing Sketch
The sketch itself needs to run in OPENGL mode – means using your GPU to run smooth. Each layer will be drawn with a smoothed out parallax position based on the mouse position.
PImage bg_tile;
PImage creature_tile;
PImage front_tile;

// two variables we use to pinpoint the center of the stage
int cx = 1;
int cy = 1;

// calculation variables for the motion
int movex = 0;
float s_move_x = 0;

int movey = 0;
float s_move_y = 0;

// -----------------------------

void setup(){

  size(768,600,OPENGL); // setup the stage

  // load all images // they need to be placed in a folder called data in the saved root folder
  creature_tile  = loadImage("creat_cutted.png");
  bg_tile = loadImage("clouds3.png");
  front_tile = loadImage("fluffy_front3_transp.png");

  imageMode(CENTER); // set all image to center mode

  cx = width/2;
  cy = height/2;

  noCursor();
  //frameRate(10); for making an animated gif, we need to lower the framerate :)

}

// ----------------------------------

void draw(){

  movex = mouseX-width/2;
  movey = mouseY-height/2;

  // add some random wiggle
  movex += sin( millis()*.004)*44;
  movey += cos( millis()*.0043)*7;

  // smooth the motion a bit
  s_move_x = lerp(s_move_x, movex,.2);
  s_move_y = lerp(s_move_y, movey,.2);


 // draw the backgroudn first ---------------
   image(bg_tile,
   s_move_x*.12+ cx,
   s_move_y*.1+ cy,
   bg_tile.width*1.1,
   bg_tile.height*1.1
   );

  // draw the actor ---------------
   pushMatrix();
   translate(s_move_x*.4 + cx ,s_move_y*.3 + cy);
   //rotate( sin( millis()*.001)*.1 );
  image(creature_tile, 0,0);
  popMatrix();

 // draw the foreground  on top ---------------
  image(front_tile,
   s_move_x*1.5+ cx,
   s_move_y*1.5+ cy,
   front_tile.width*3,
   front_tile.height*3
   );

  // use this funtion to create an animated gif lateron
  if(mousePressed){

     // saveFrame("out/####_f.jpg");

  }

}