How to train your own LoRa network! beginners step by step guide with KOHYA / Stable Diffusion
👁 13262 | Tristan Schulze lately updated this on Dezember 16, 2024
First off, this tutorial is based on designers trial and error best practice knowledge using Kohya, basic knowledge and several …
First off, this tutorial is based on designers trial and error best practice knowledge using Kohya, basic knowledge and several Youtube tutorials. As the Kohya training toolset has quiet a lot of parameters, we stick to presets in hope for the documentation to become more user friendly in the future.
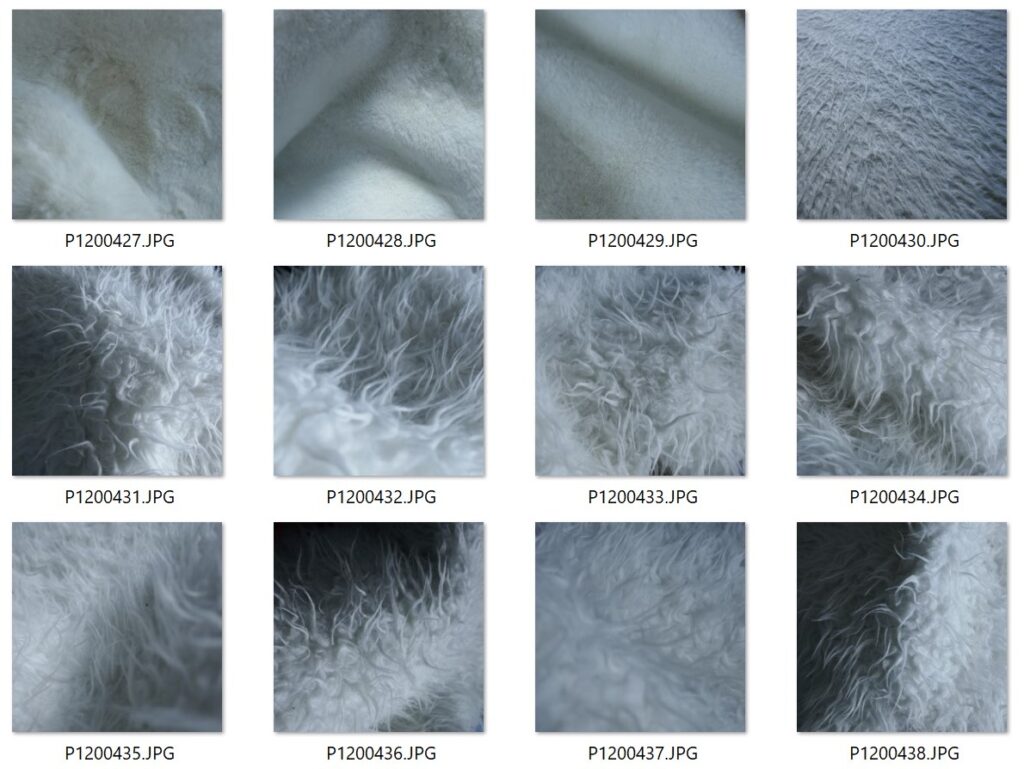
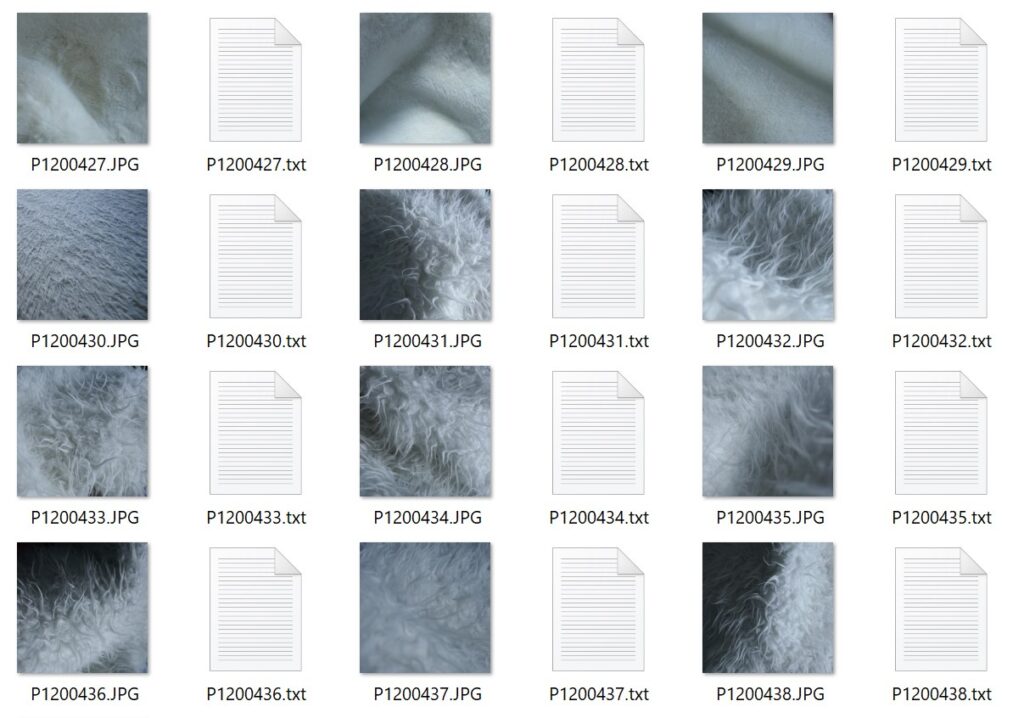
To train your LoRa, you need training data. We use simple 512x512px images for simplicity purpose. The more precise, sharp, well contrasted images you use, the better. Quality before quantity. example training images with fluffy carpets
#3 captioning your images
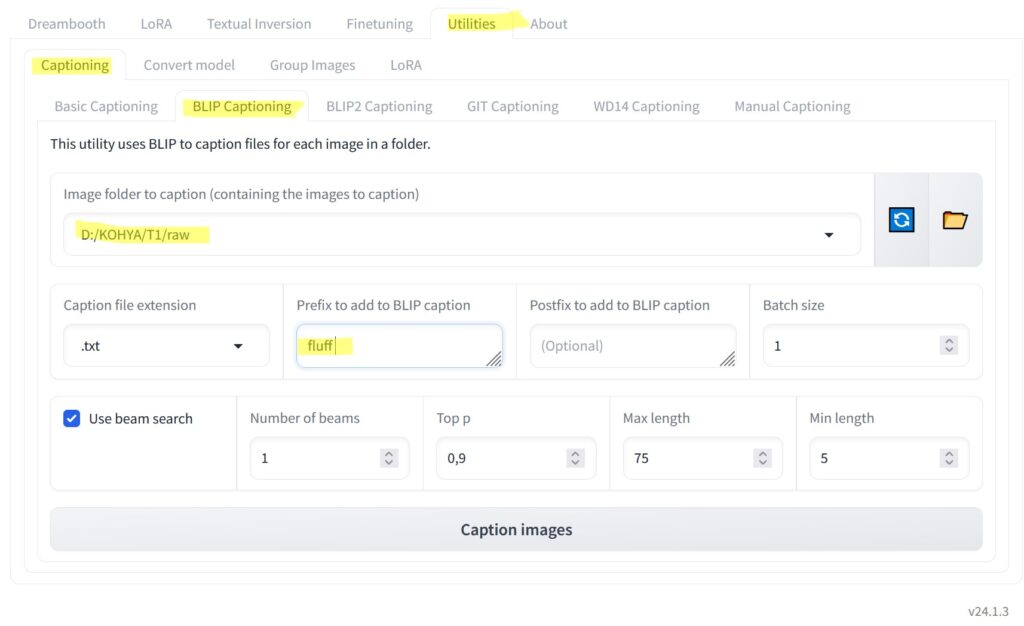
To get use from your images as training data, your images need to be annotated. We need to generate descriptions of what is shown on the image, so your LoRa model can be trained according to the diffusion process needs. blip captioning basic setup
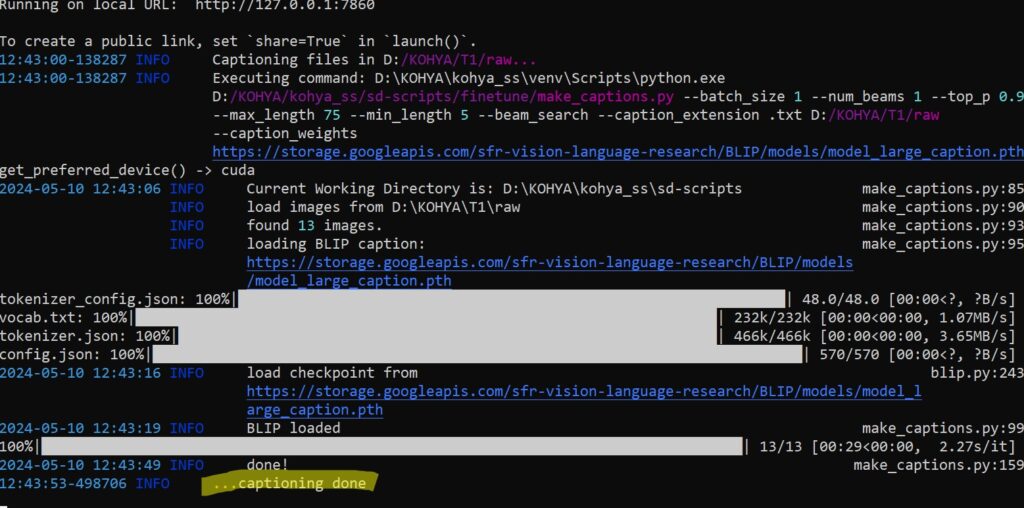
If you like to introduce a trigger word for your model, just add a suitable word in the prefix input field. console output after blip captioning
your image data folder should have your images along text captions text files
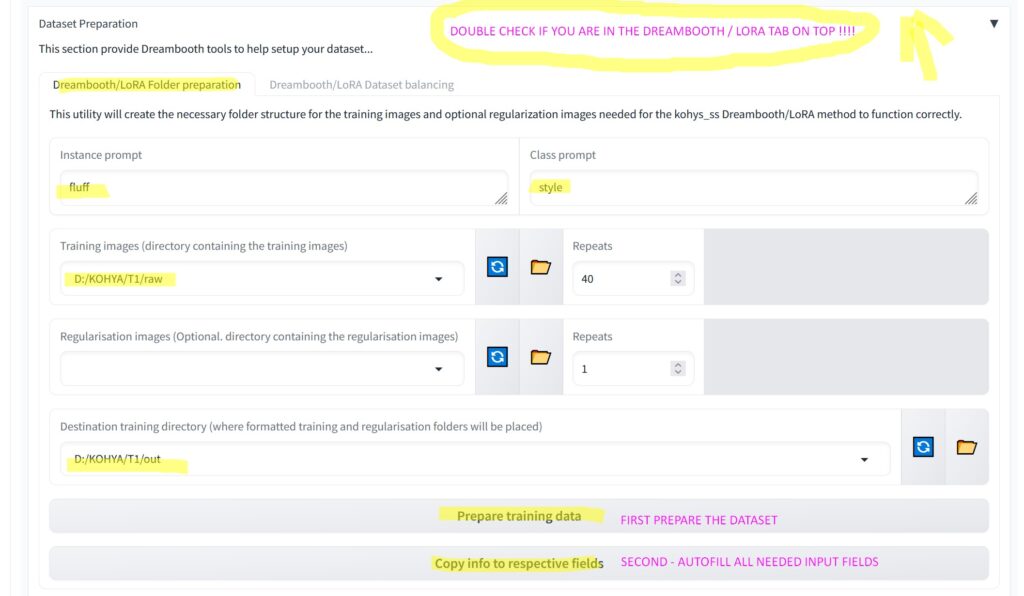
#4 dataset preparation
The Kohya training engine needs a specific folder structure to manage the data. The engine has the feature to prepare this for you. Go to the LORA Tab ( NOT DREAMBOOTH !!! ) and scroll down for „Dataset Preparation“. dataset preparation and training start
Click the button to prepare your dataset / folders. Then copy into respective fields.
#5 initiate training
After preparation is done, you can start the test training itself. automatic download of tools before first training
Note, that before you will train with your data, some additional models and tools need to be downloaded. This might take some time! check your console for this. default training progress console output
Your console will show the current training progress. Depending on your dataset size and your GPU, this can vary between some minutes and some hours!
#6 check the output
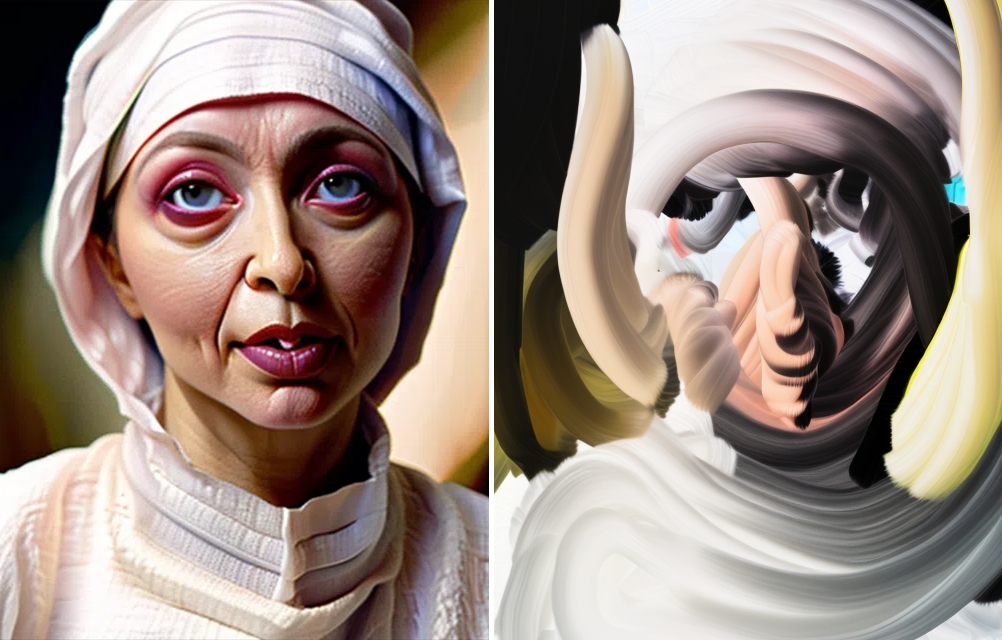
After the training is done, there comes the fun part – checking your freshly trained LoRa! Just place the *.safetensors file, you will find in your output folder and place it in your LoRa folder of you prefered generator UI ( A1111/ComfyUI/… ). You might use your magic word in your prompt and play with different LoRa weights to see how it affects the default diffusion process.
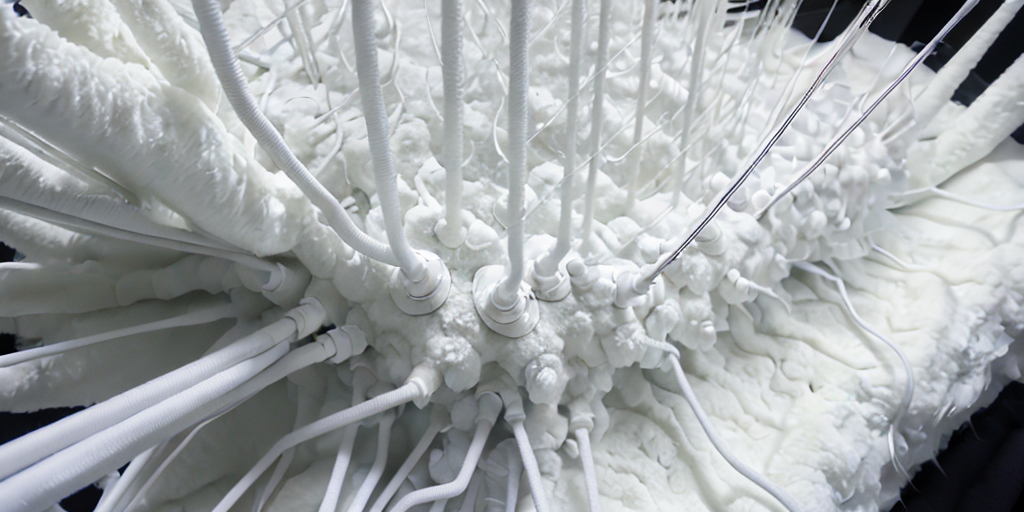
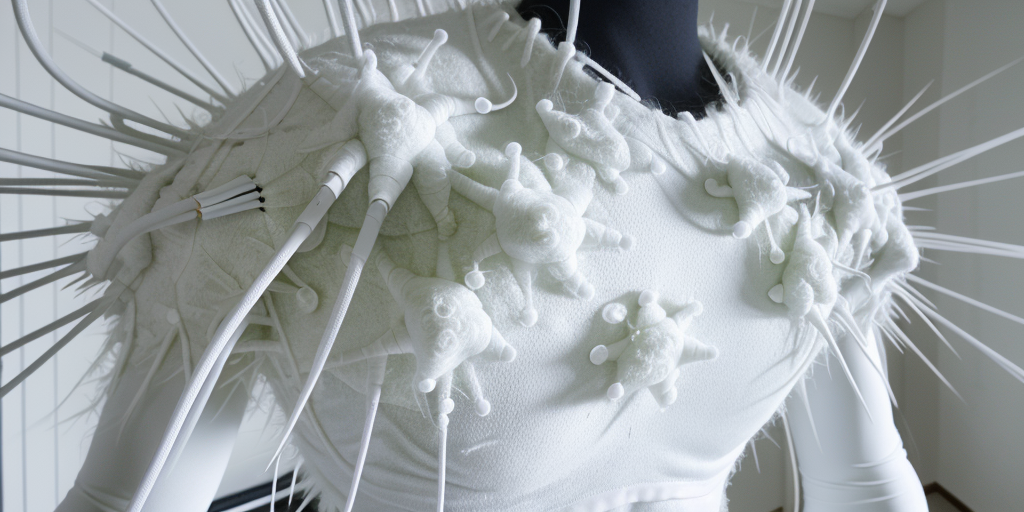
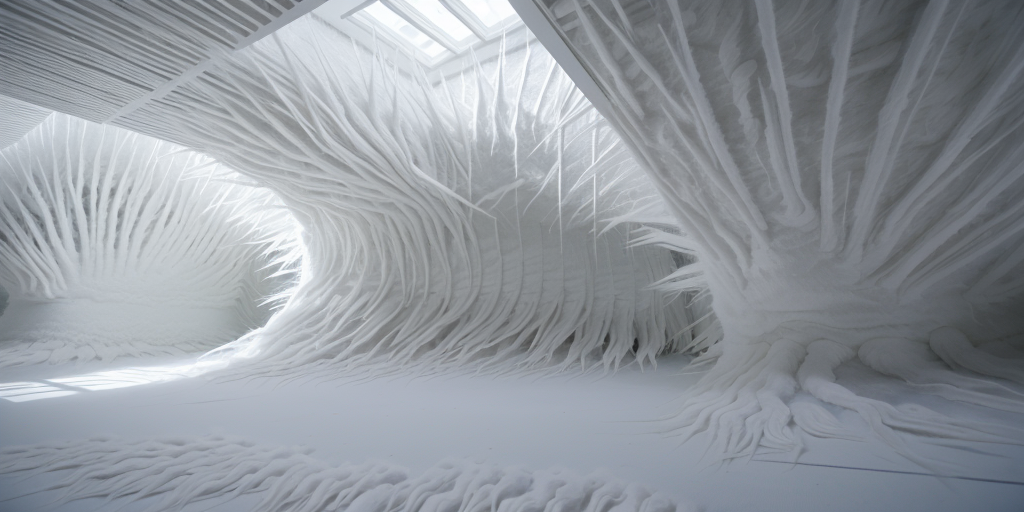
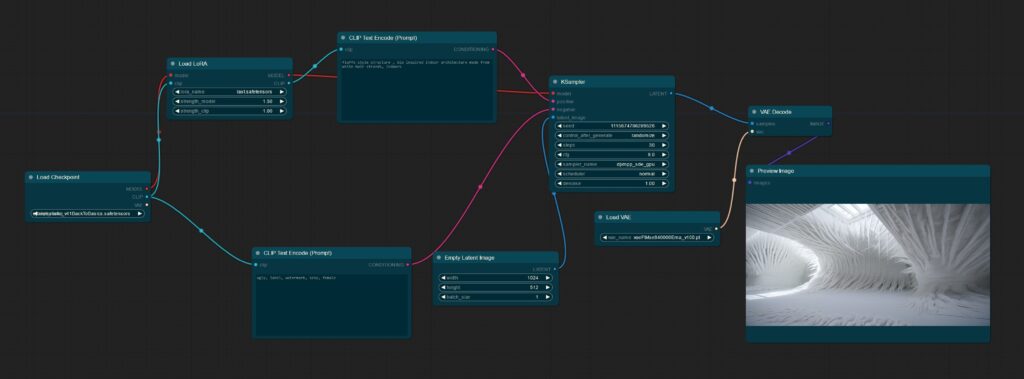
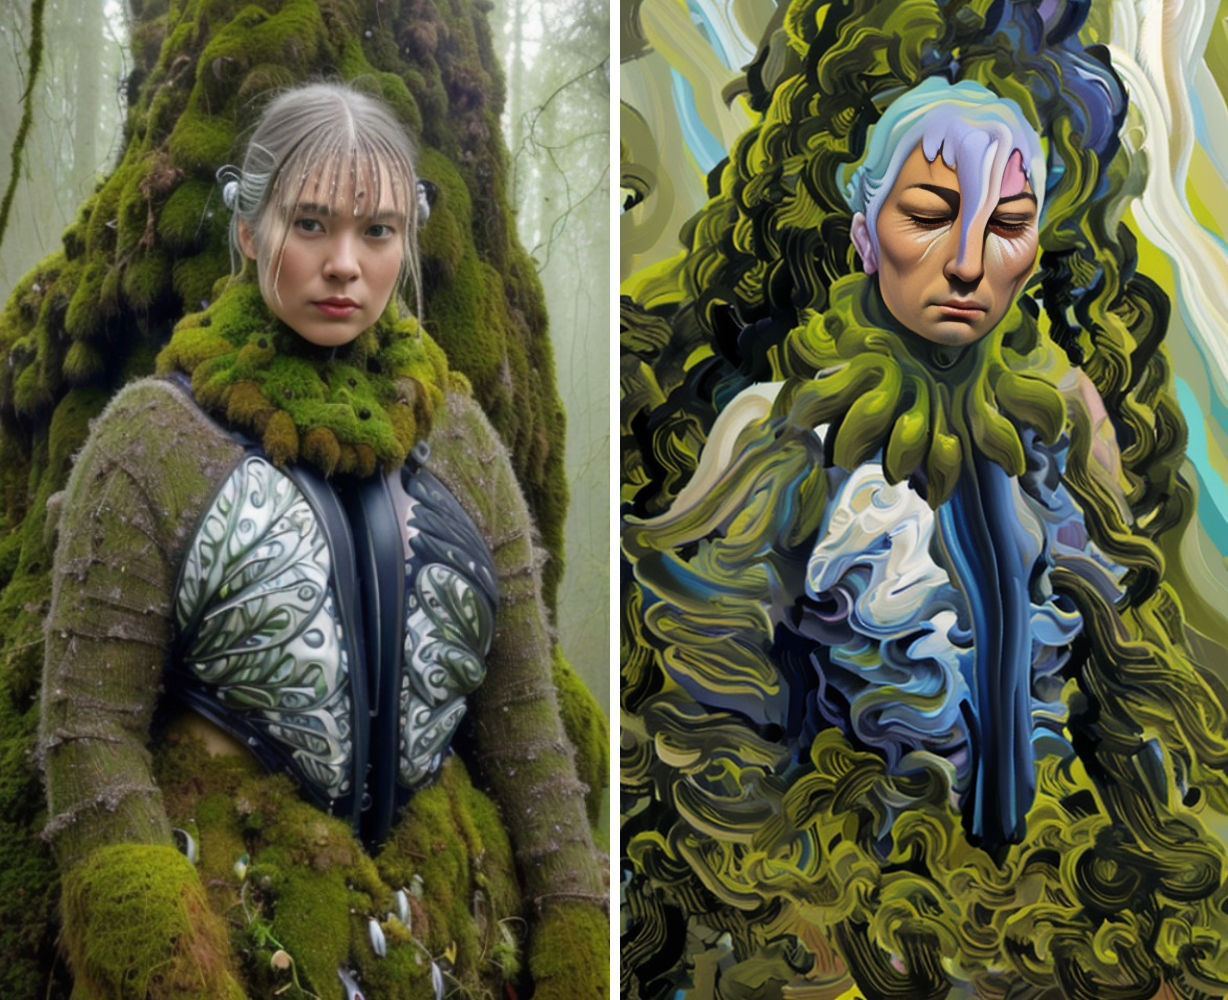
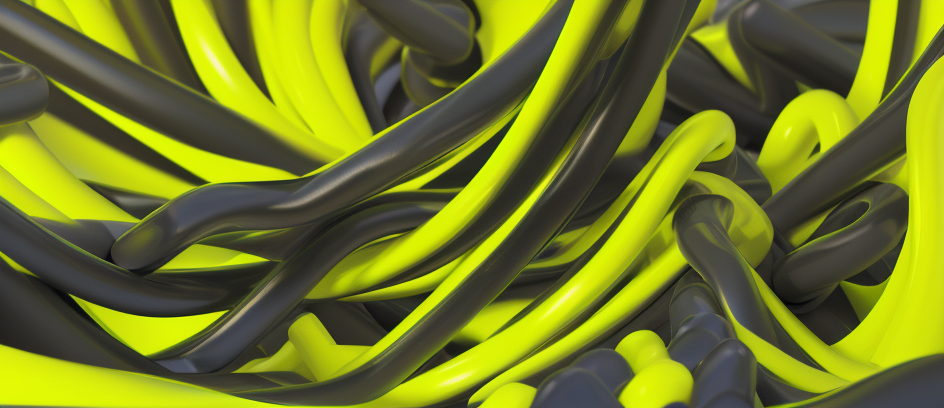
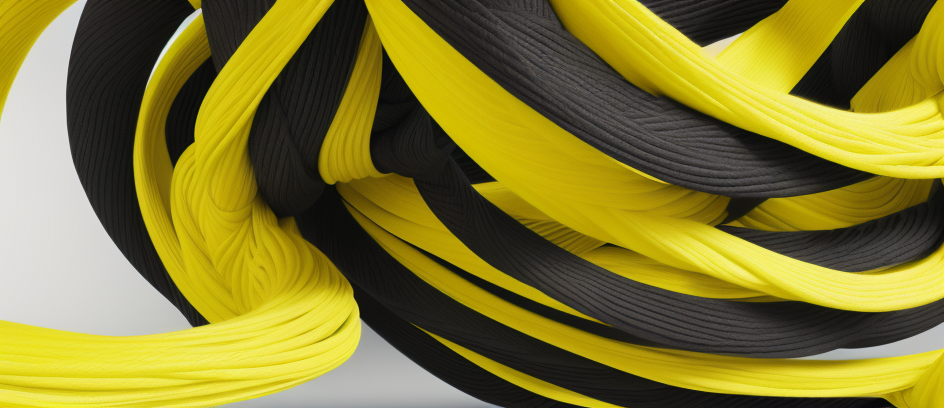
PROMPT: fluffx style structure , bio inspired complex engine , white round cables and wires, floral – weight: 1.5fluffx style structure , bio inspired body suit armour, big hair strands , white round cables and wires, floral, crop top – weight: 1.7fluffx style structure , bio inspired indoor architecture made from white hair strands – weight: 1.7simple LoRa test workflow in ComfyUI
Now the mysterious part. You have quiet a complex set of design factors to train your LoRa. Depending on your needs, you need to decide for your own, what suits best. As rules of thumb, you can go with these tips in mind:
Use quality training data. Good quality images of the things you want to introduce the neural net.
Start with simple concepts first. Whether a specific drawing style, color palette or composition style. Setup a homogenic dataset first to see what it induces in the diffusion process and repeat!
helpful sources
Great simple guide how to install Kohya on your machine!
Good guide how to use Kohya to train your model!
(SPOILER: Check the structure of your training folder! )
Very annoying video feed, but very good work done!
other training experiments
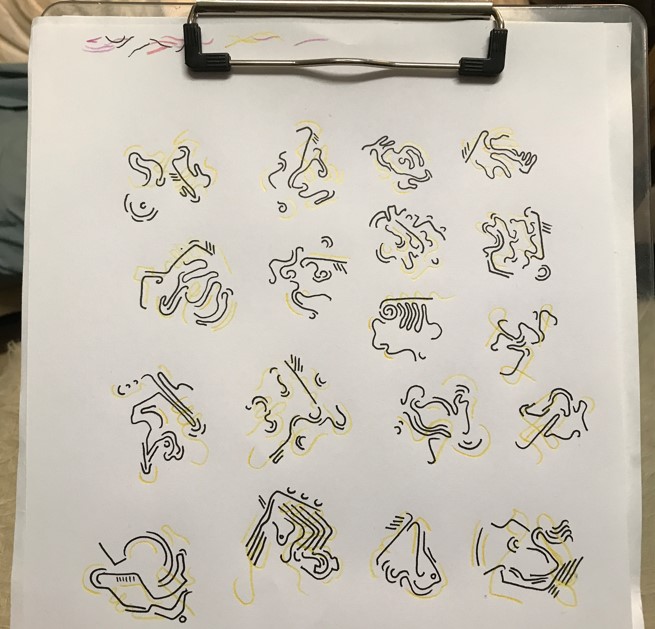
minimalistic dataset made from handdrawn abstract drawings
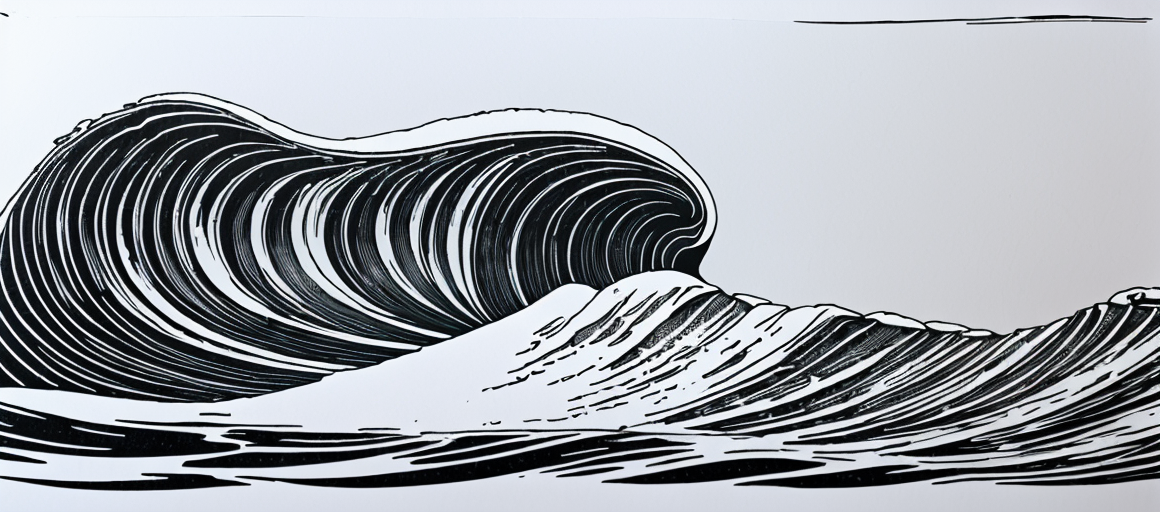
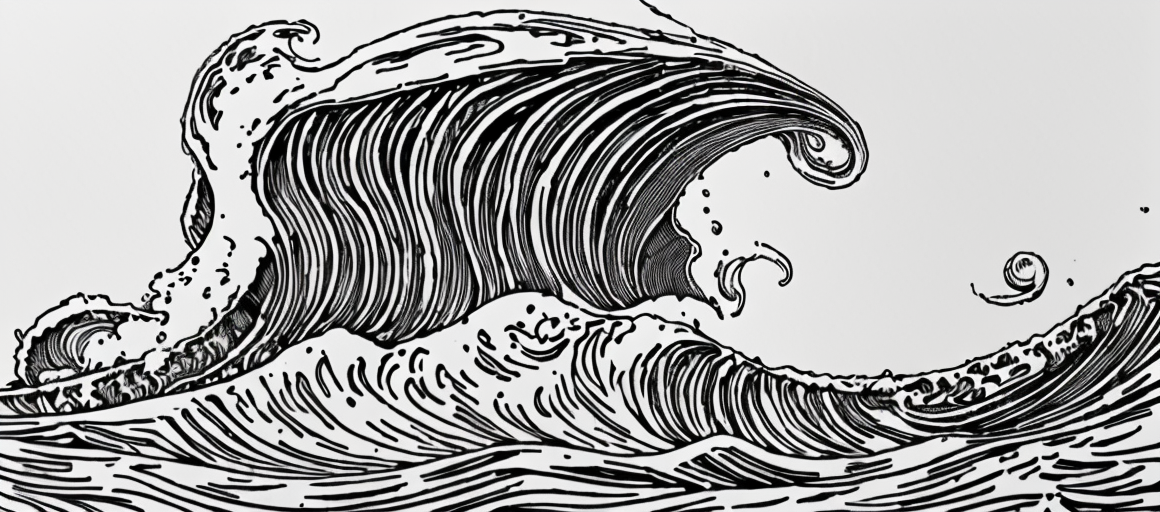
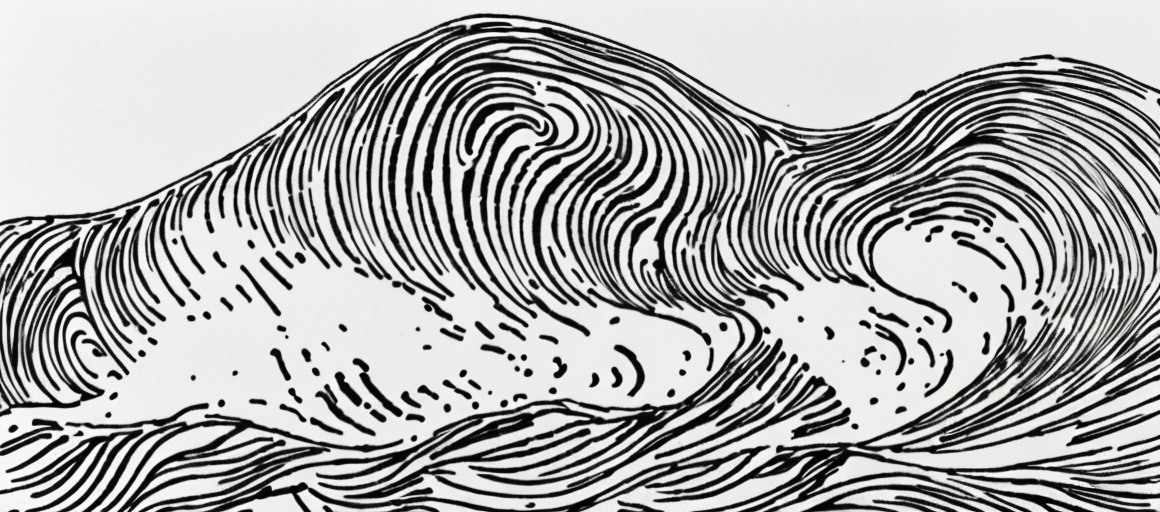
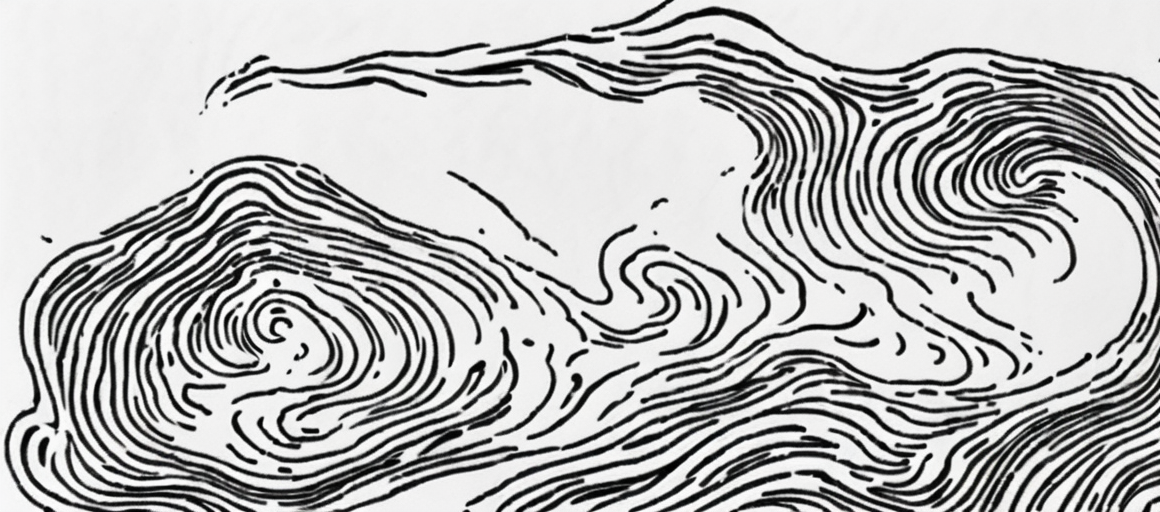
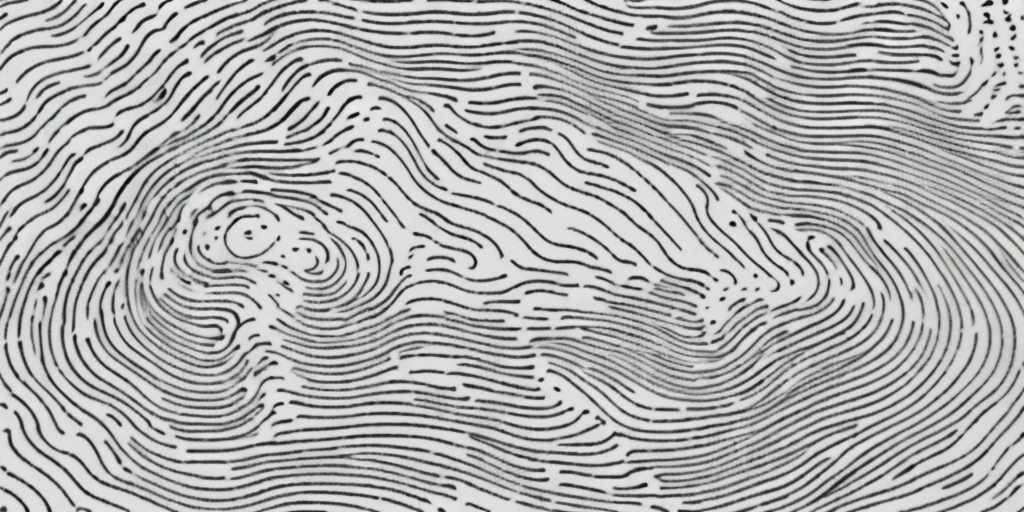
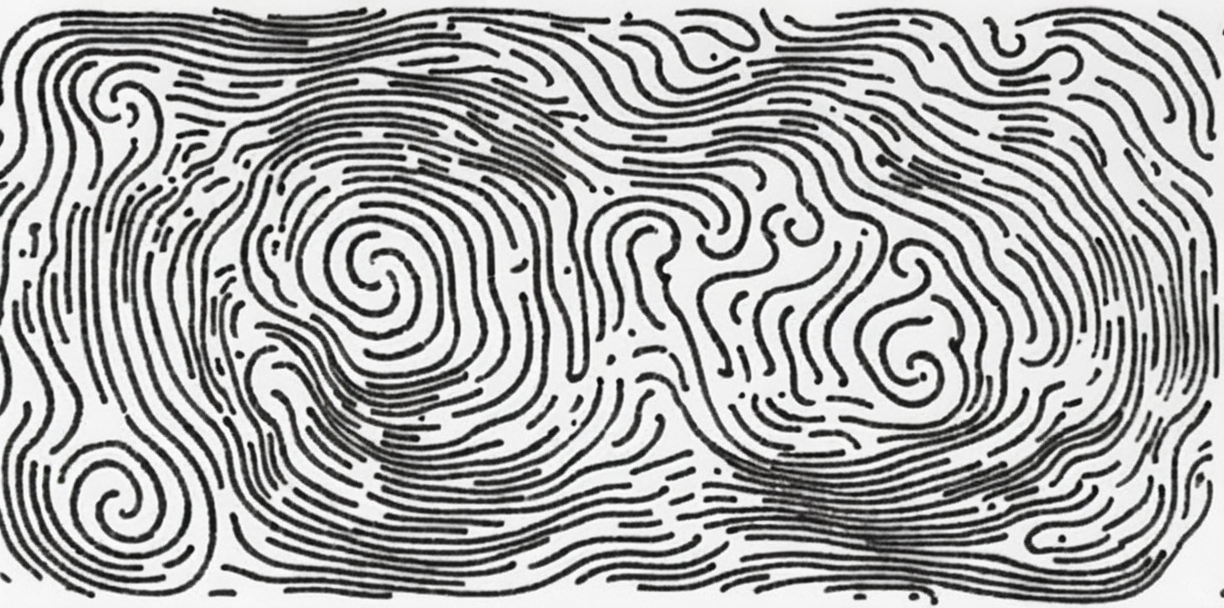
You can try it on your own if you download the pretty small LORA: trx_one
(hyper detailed breaking ocean waves, gusty sea :1.2) , trx_one thin curved black ink strokes, (white plain paper background:1.2), high contrast, sharp, diffuse bright lighting, (blur, blurry:1.1), dots
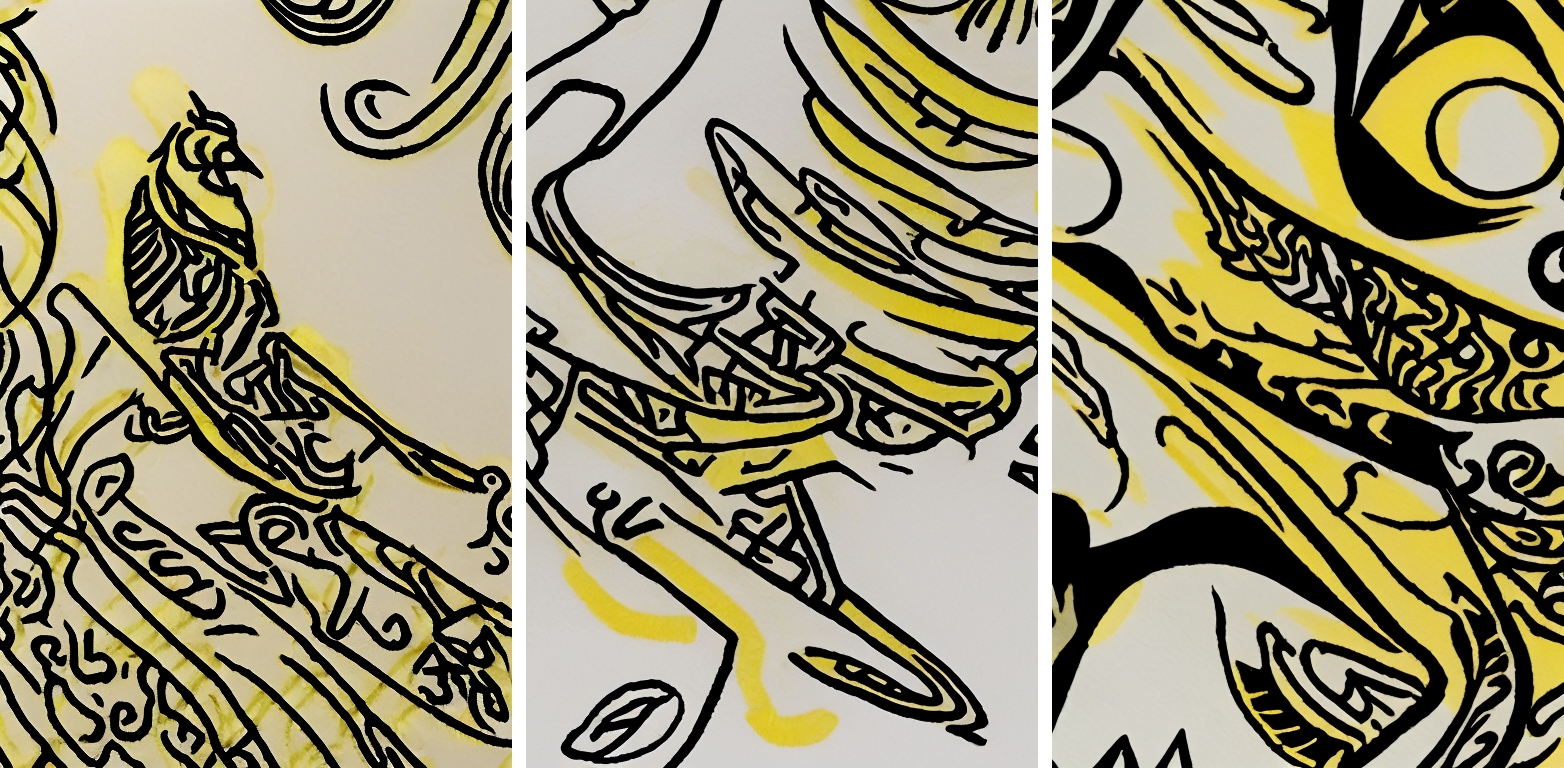
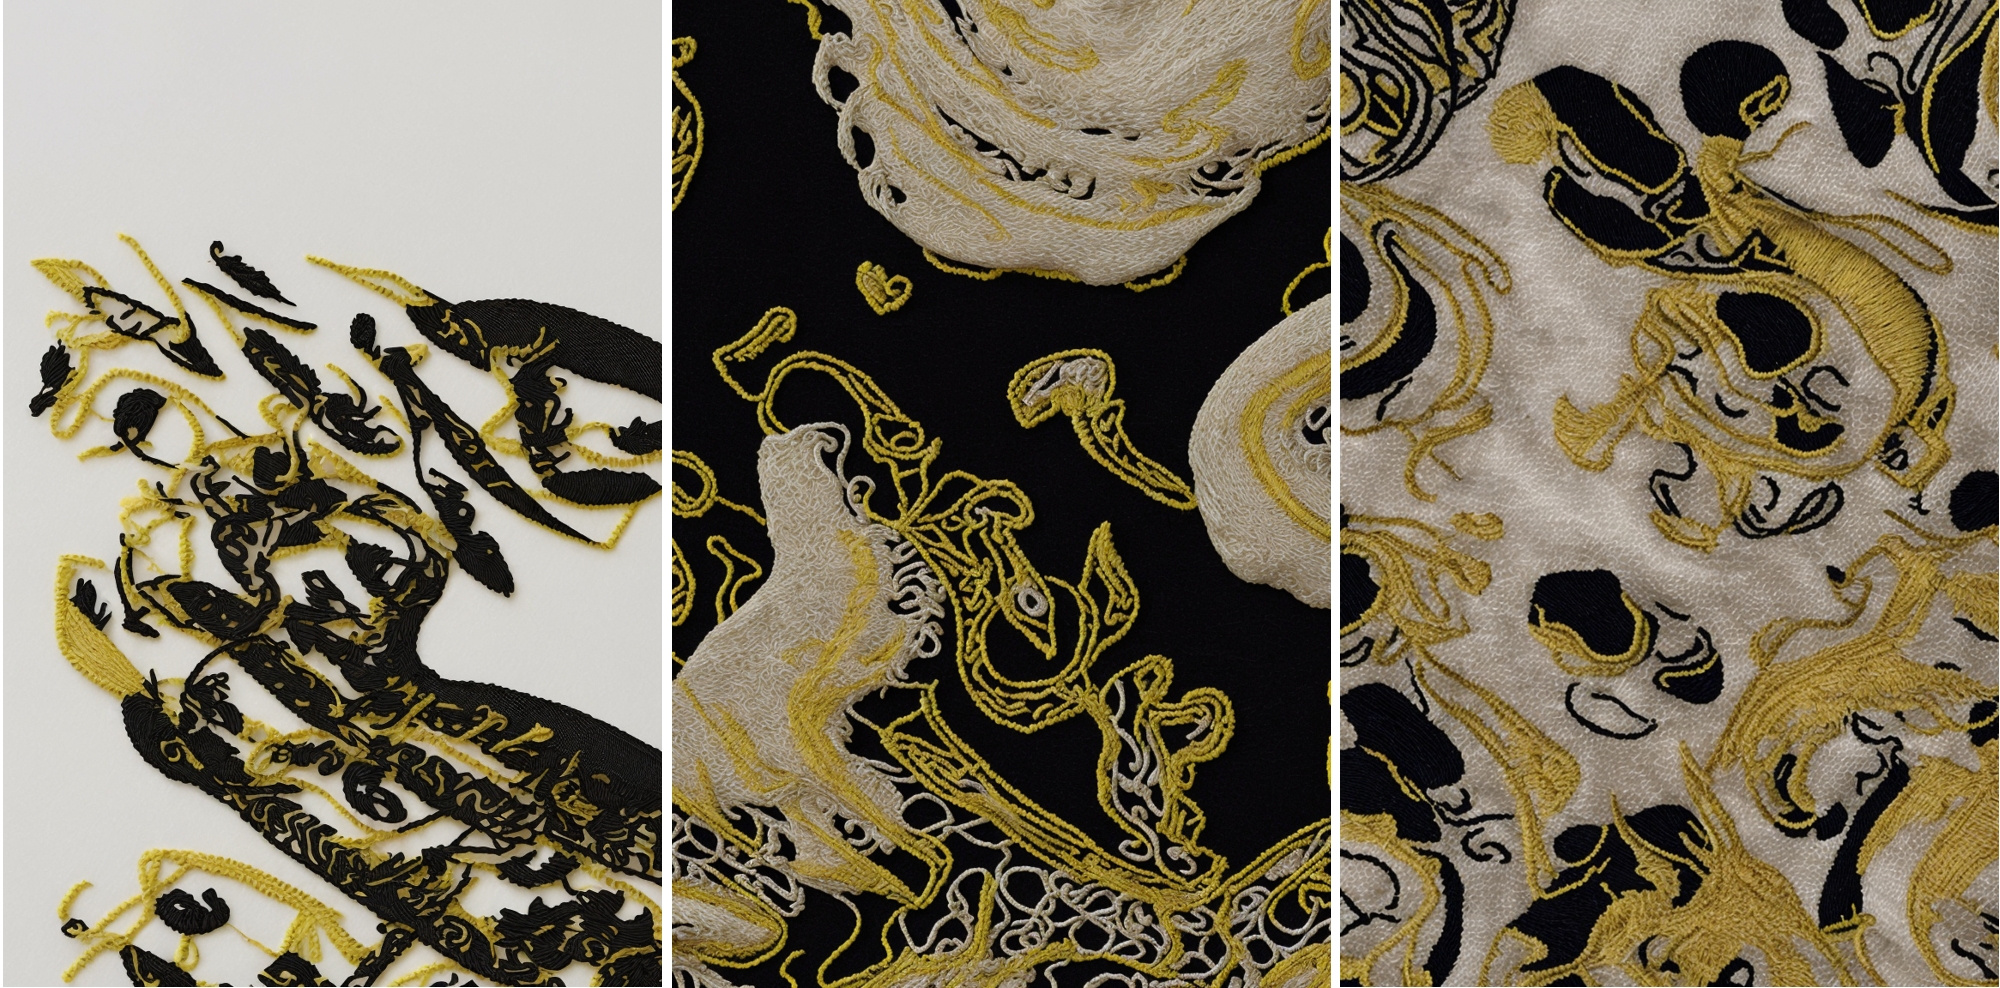
hand drawn minimal training set with two colored pen drawingsdrawing a complex motif – pen drawing – with strong LORA influencegenerating a complex embroidery with mid LORA impact
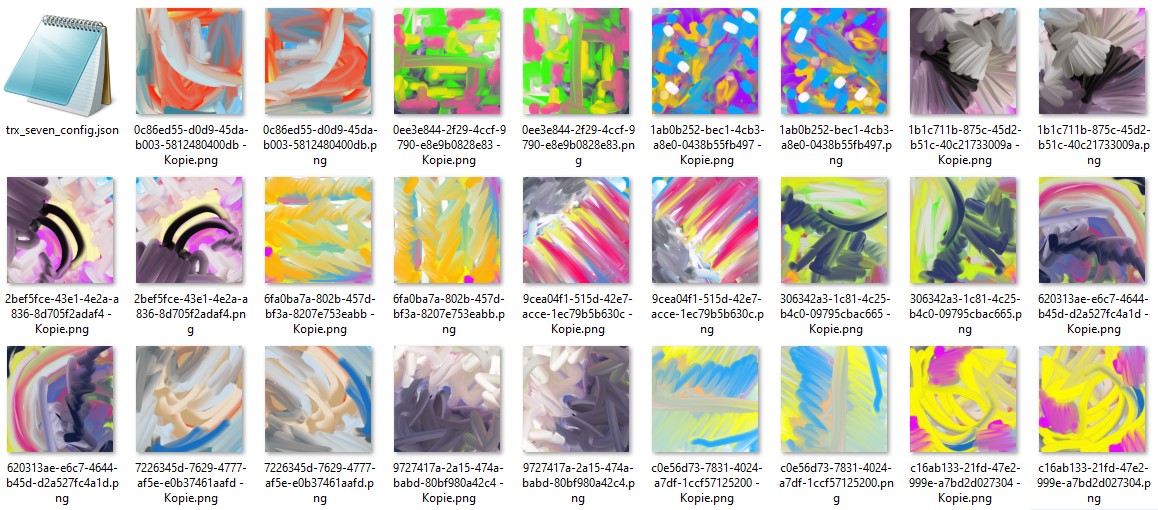
handdrawn color panels as training datasetusing the painterly LORA to guide the img2img overworkingusing the painterly LORA to guide different forms like textile cablesusing the LORA to guide form finding process – here to set cables in a compositionusing the LORA to guide form finding process – here to set textile cables in a composition
training with photo panels
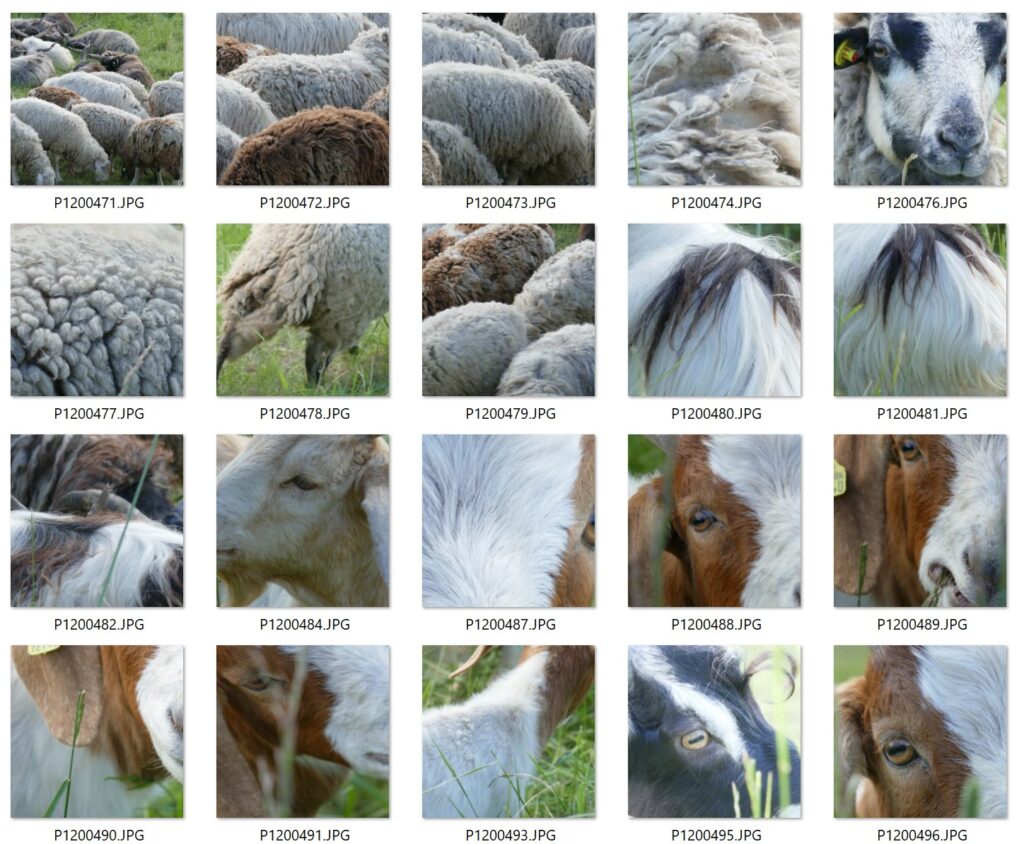
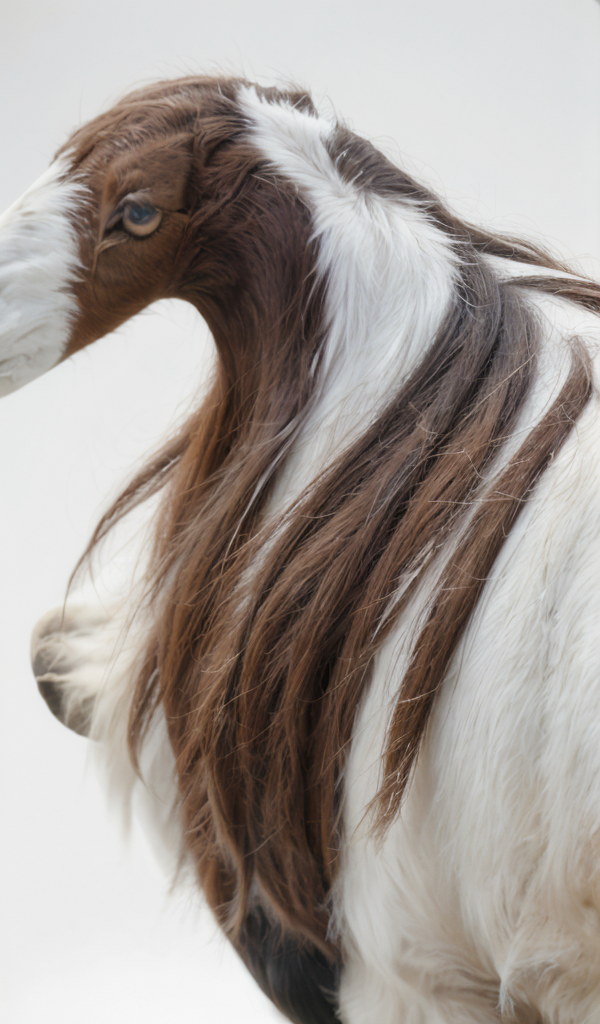
This distinct LoRa model is trained with photographs, that are experimental close up shots of sheep and goats with well composed formal compositions. This creates distinct furry textures and interesting, non stereotypical renderings, when mixed in the diffusion.
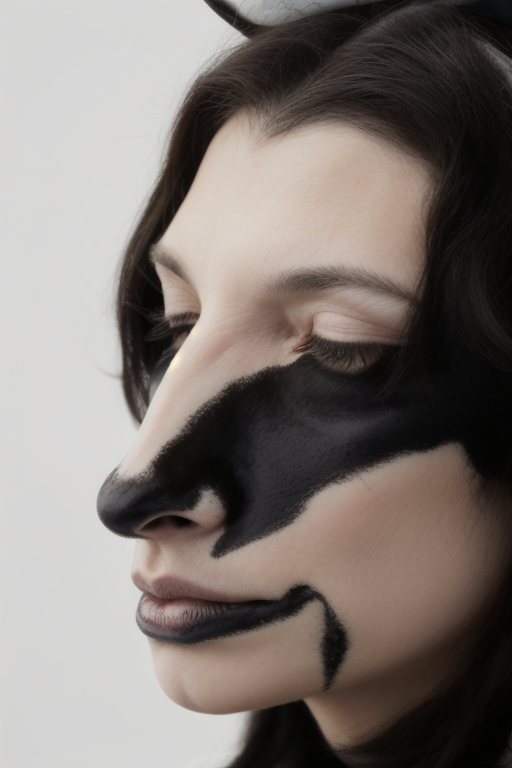
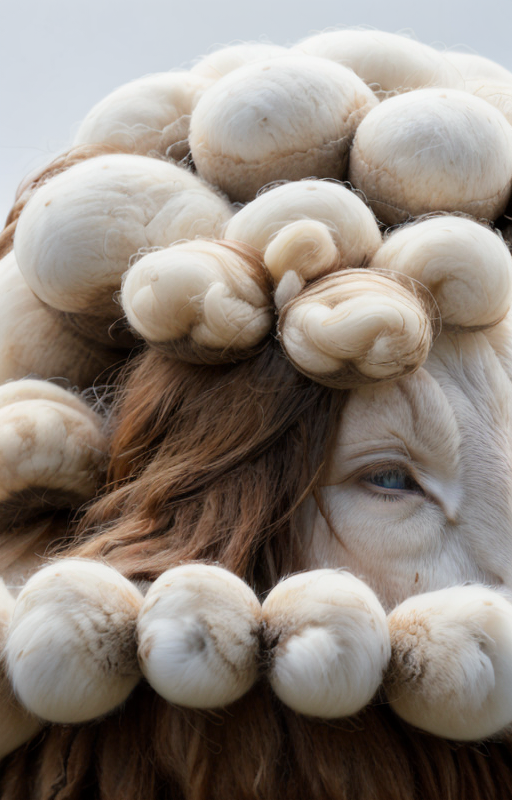
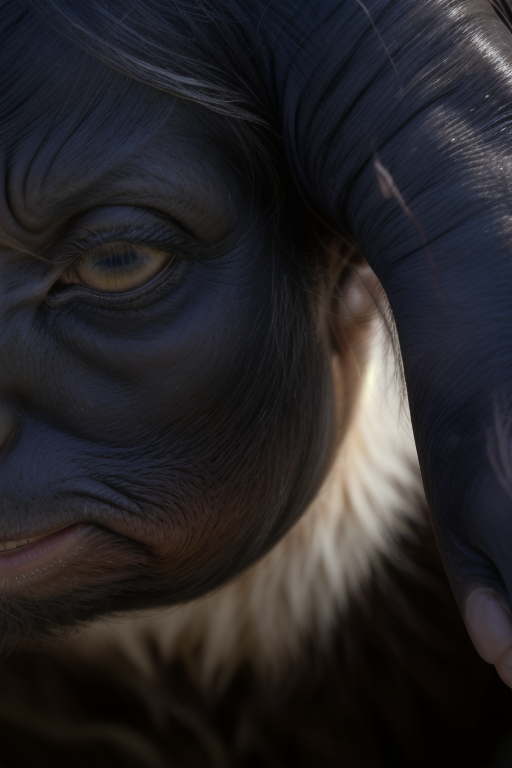
some picks from the mea LoRa training datamixing the mae LoRa half way to the diffusion creates interessting deformations